Hello friends,
When you don’t have enough time or energy for a large-scale crafting project, but still Want to Create Something, a quick, light, and easy is the way to go. Here is one idea that is easily altered for your own purposes: altered playing cards. You can make tags, tiny greeting cards, or, like I did, a mini art journal that can be used as a herbarium, a journal, a memory keeper, a swatch booklet... All you need is some playing cards, leftover papers that might or might not be already on your desk, a cup of coffee and fifteen minutes precious me-time.
Here's the how.

Take a few playing cards, some vintage papers, or other papers you want to cover your playing cards with, some prints or stickers or whatever you want to decorate your altered cards with, and maybe, if you are a lace hoarder like I am, some bits and bobs of those, too. You’ll also need white Heavy Gesso and Soft Matte Gel, and if you like vintage style, Impasto paints Pitch Black, and Dark Chocolate. Clear Gesso and Snow White Impasto paint are optional.
First, choose the paper you are going to cover the playing cards with. Add a layer of Soft Matte Gel onto your playing card, press the paper on top, cut the edges, and add another layer of Soft Matte Gel to seal the surface. Let dry. Repeat from both sides, as long as you have playing cards to do so.

If you like to create a mini background collage, use scraps of papers, and attach them with Soft Matte Gel, and let dry. Make a hole onto the corner (a mini flip journal), on top (a tag), or two on the edge (a proper mini art journal), and add a hole strengthener, if you want and have the tool for it.
Whitewash the surface with white Heavy Gesso and let dry. If you want vintage look, mix some black and brown Impasto paint, and paint the edges with very watery brush, and let dry.
Now you have background for decorating the altered playing cards the way you like.
I did some different kind of examples for you.

Using pressed flowers: Add one layer of ordinary tissue paper on top of the background collage with Soft Matte Gel, let dry, and paint over with white gesso. Add Soft Matte Gel, press your flower on top, add Soft Matte Gel gently over the pressed flower, and press tissue paper on top. Let dry. Use either Soft Matte Gel or Clear Gesso to seal the surface and add just a hint of black-brown paint mix onto the card.
Using prints: Glue your print and seal with either Soft Matte Gel or Clear Gesso. Let dry. Highlight the edges with black-brown paint mix, add some splashes of white paint.
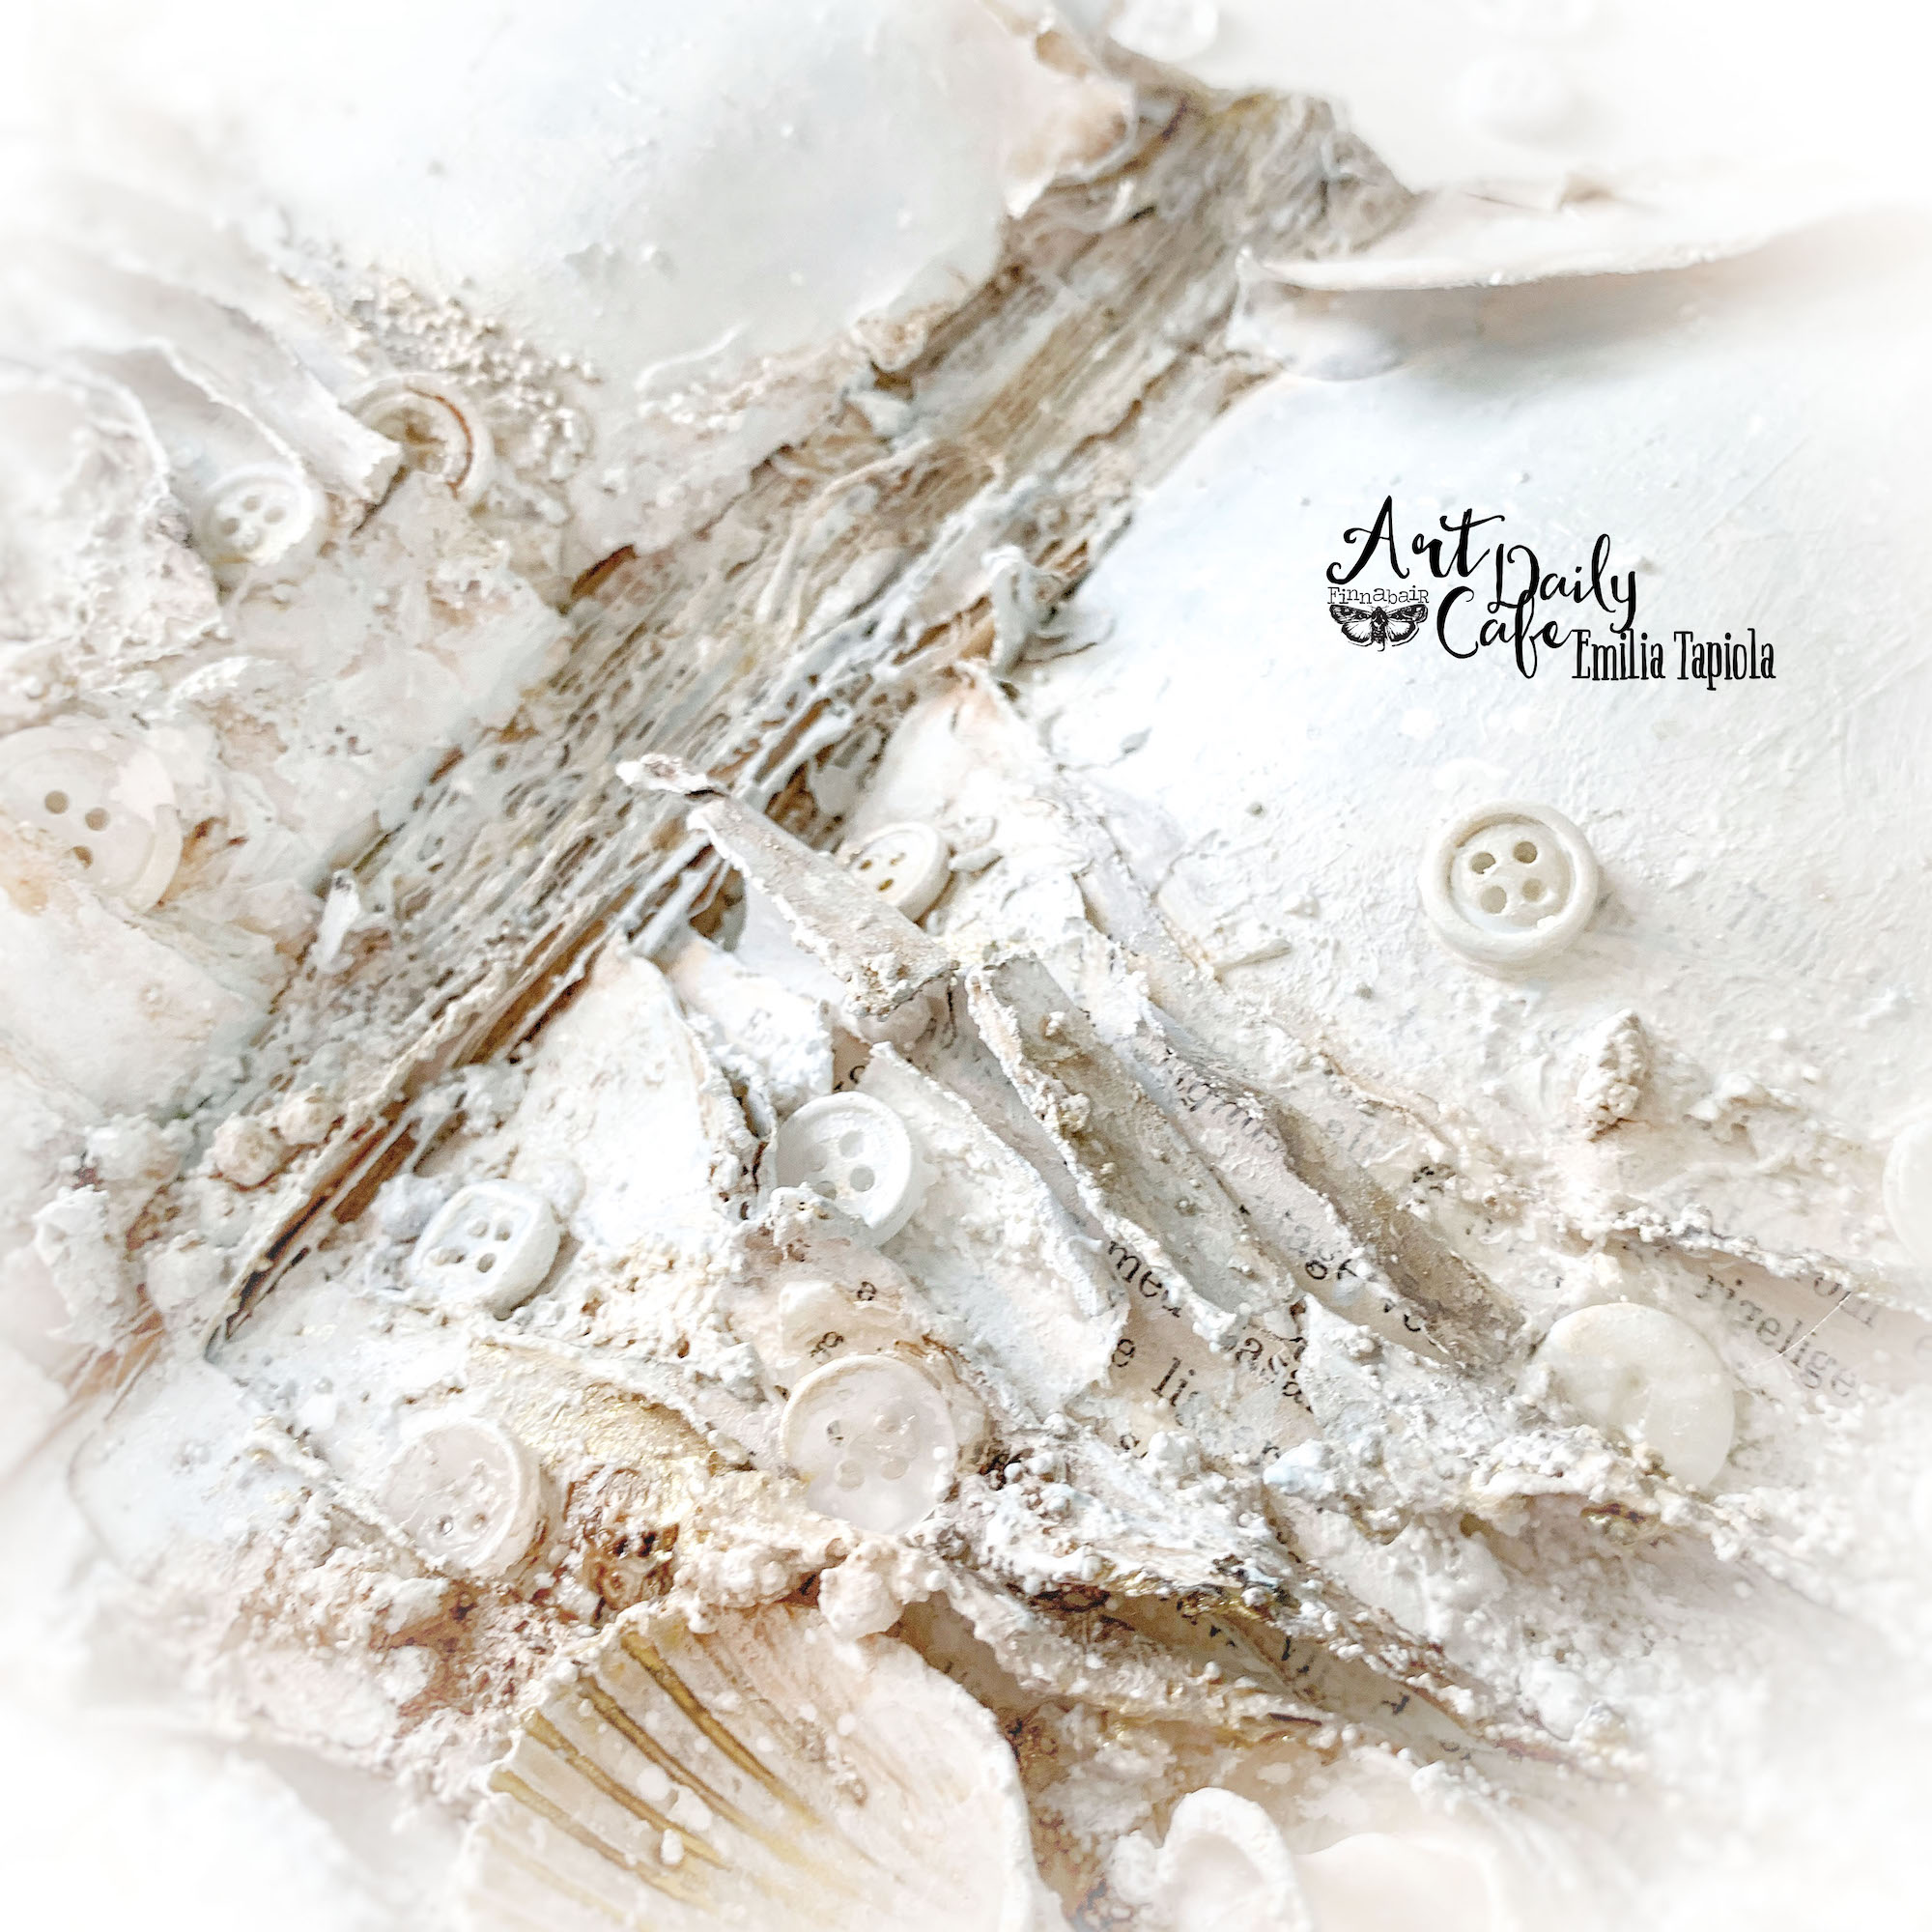
Using fabrics: onto your background collage, glue or staple layers of fabric and lace. I started with attaching botanically dyed cheese cloth with Soft Matte Gel, and glued fabric and lace on top, and as a finishing touch, added a vintage button with silk ribbon sewn through it.

Attach the cards with either silk ribbon or a metal ring, and it’s done.
Link to the video of the process here: https://youtu.be/3KNNaEsS2Hs
Wishing you all things gentle and beautiful,
Emilia
MATERIALS USED:
https://mixedmediaplace.com/prima-art-basics-heavy-gesso-white
https://mixedmediaplace.com/prima-art-basics-heavy-gesso-clear
https://mixedmediaplace.com/prima-art-basics-soft-matte-gel
https://mixedmediaplace.com/prima-art-alchemy-impasto-paint-snow-white
https://mixedmediaplace.com/prima-art-alchemy-impasto-paint-pitch-black
https://mixedmediaplace.com/prima-art-alchemy-impasto-paint-dark-chocolate