Tuesday 11 October 2022

Even If.


There are moments in life that calls us to press the pause button. To sit down, to breathe, to take a good look in the mirror and ask Some Questions while at it. 
 
Who do you see there? Are you comfortable with what you see? If the finish line is as close as it looks, was your life what you really wanted it to be? Are YOU what you wanted yourself to be?
 
It’s the Pink Month.
 
I thought I won’t talk about this, but then I thought it’d be ridiculous not to, especially because my story even has a happy ending – for now.
 
It’s just that the subject is so much talked about and then not nearly enough that I feel hesitant and urged to talk about it at the same time. But here it goes. (And you know me; I usually need a lot of words, so... Courage, dear heart, this, too, shall pass.)
 
I am one of those tediously conscientious people who examine their breasts every single month – and has done so for the past twenty plus years. Every. Single. Month. I owe it to myself. 
 
A while ago I noticed everything wasn’t all right. I tried to explain it away and believe me, I am VERY GOOD at explaining things away to myself. I have all kinds of disabilities and chronic illnesses, so I’d spend my entire life in hospital waiting rooms if I didn’t master the voice of reason self-diagnosis thingy.
But this one I couldn’t explain in any way, so I called to the local health center and asked if this is something that should be checked.
 
Yes, they said, immediately.
 
Those of you who know me from a way back, might remember I don’t have what you’d call a warm and trusting relationship with Finnish health care system. No. It’s a concept I avoid at all costs. It took all my courage to call them and then, heaven forbid, to STEP INSIDE the walls of their kingdom.
 
However, for once I have only good things to say about the public health care system. The waiting times were so short they could not possibly have been any shorter, and everyone was so kind, so gentle, so… human. 
 
And in the end, all was well. For now. But I was repeatedly told how important it was to come and check it, as it could have easily been something serious. 
 
I have had my share of those pause moments in life. Because of them, I have learnt quite a lot about myself and about life and its fragility, so this experience was not as earthshaking as it could have been.
Still, during the past few weeks I felt my whole life was in a pause mode. Like the earth itself had tilted a bit. Nothing you could see outside, but like the whole universe had slightly cracked and left me fractioned.
I had time to think. A LOT. (And this comes from a person who may or may not have couple of universe’s worth of thoughts circling in her head 24/7.)
 
I thought about acceptance, mostly (also, about rocks, minerals, and molecules, because sometimes it is better to concentrate on Important Things instead of Serious Things), and I realized I am quite blessed. There is no other word for it. 
 
I am where I want to be, I am who I want to be. Also, I hope and think I might be where and who I need to be. And that, my friends, is rather beautiful.
 
I have no desire to be ten years younger. I am who I am because I have my years’ worth of love, laughter, pain, and tears molding me.
 
I don’t need to be prettier, thinner; I am who I am just as I am and I love myself for it, with all the scars and bumpy, wobbly bits. And although it’s not been as easy to accept as my wobbly bits, I don’t need a glorious career to make me complete. I had quite a career on the making once, but life and brain injury happened, and I am a different person because of it all. It wasn’t easy, to accept it, but once I did, I got so much more I could have never, ever have hoped or dreamed, not in this life. So, yes, I am who I am, because all of this, and I feel incredibly, overwhelmingly blessed. (If that makes sense, which it does to anyone having similar experience.)
 
I also thought about how I have the most wonderful family; husband and children, I have a beautiful home, a lovely garden, and of course, Mr. Hemingway the cat. About how I am privileged enough to be able to have spent the whole summer collecting herbs, learning more about nature and its miracles and magic, about rocks, minerals, and gemstones, about all things visible and all things beyond. 
 
How, if my life was about to end, it has been a good one. One filled with love, with warmth, with blessings. 
 
But it does not erase the fact that this, too, was a rough, raw, shaking experience, and I feel just as rough, raw, and shaking, and will feel, for quite some time. But it is ok. Those feelings are there for a reason. And I have the gentlest healer Mr. Hemingway right next to me purring and licking my inner wounds, a husband who takes my hand and guides me through any kind of storms, children who hugs my invisible pain away, friends to talk everything through and more, God who is there, holding us all, with our fractures and wobbles.
 
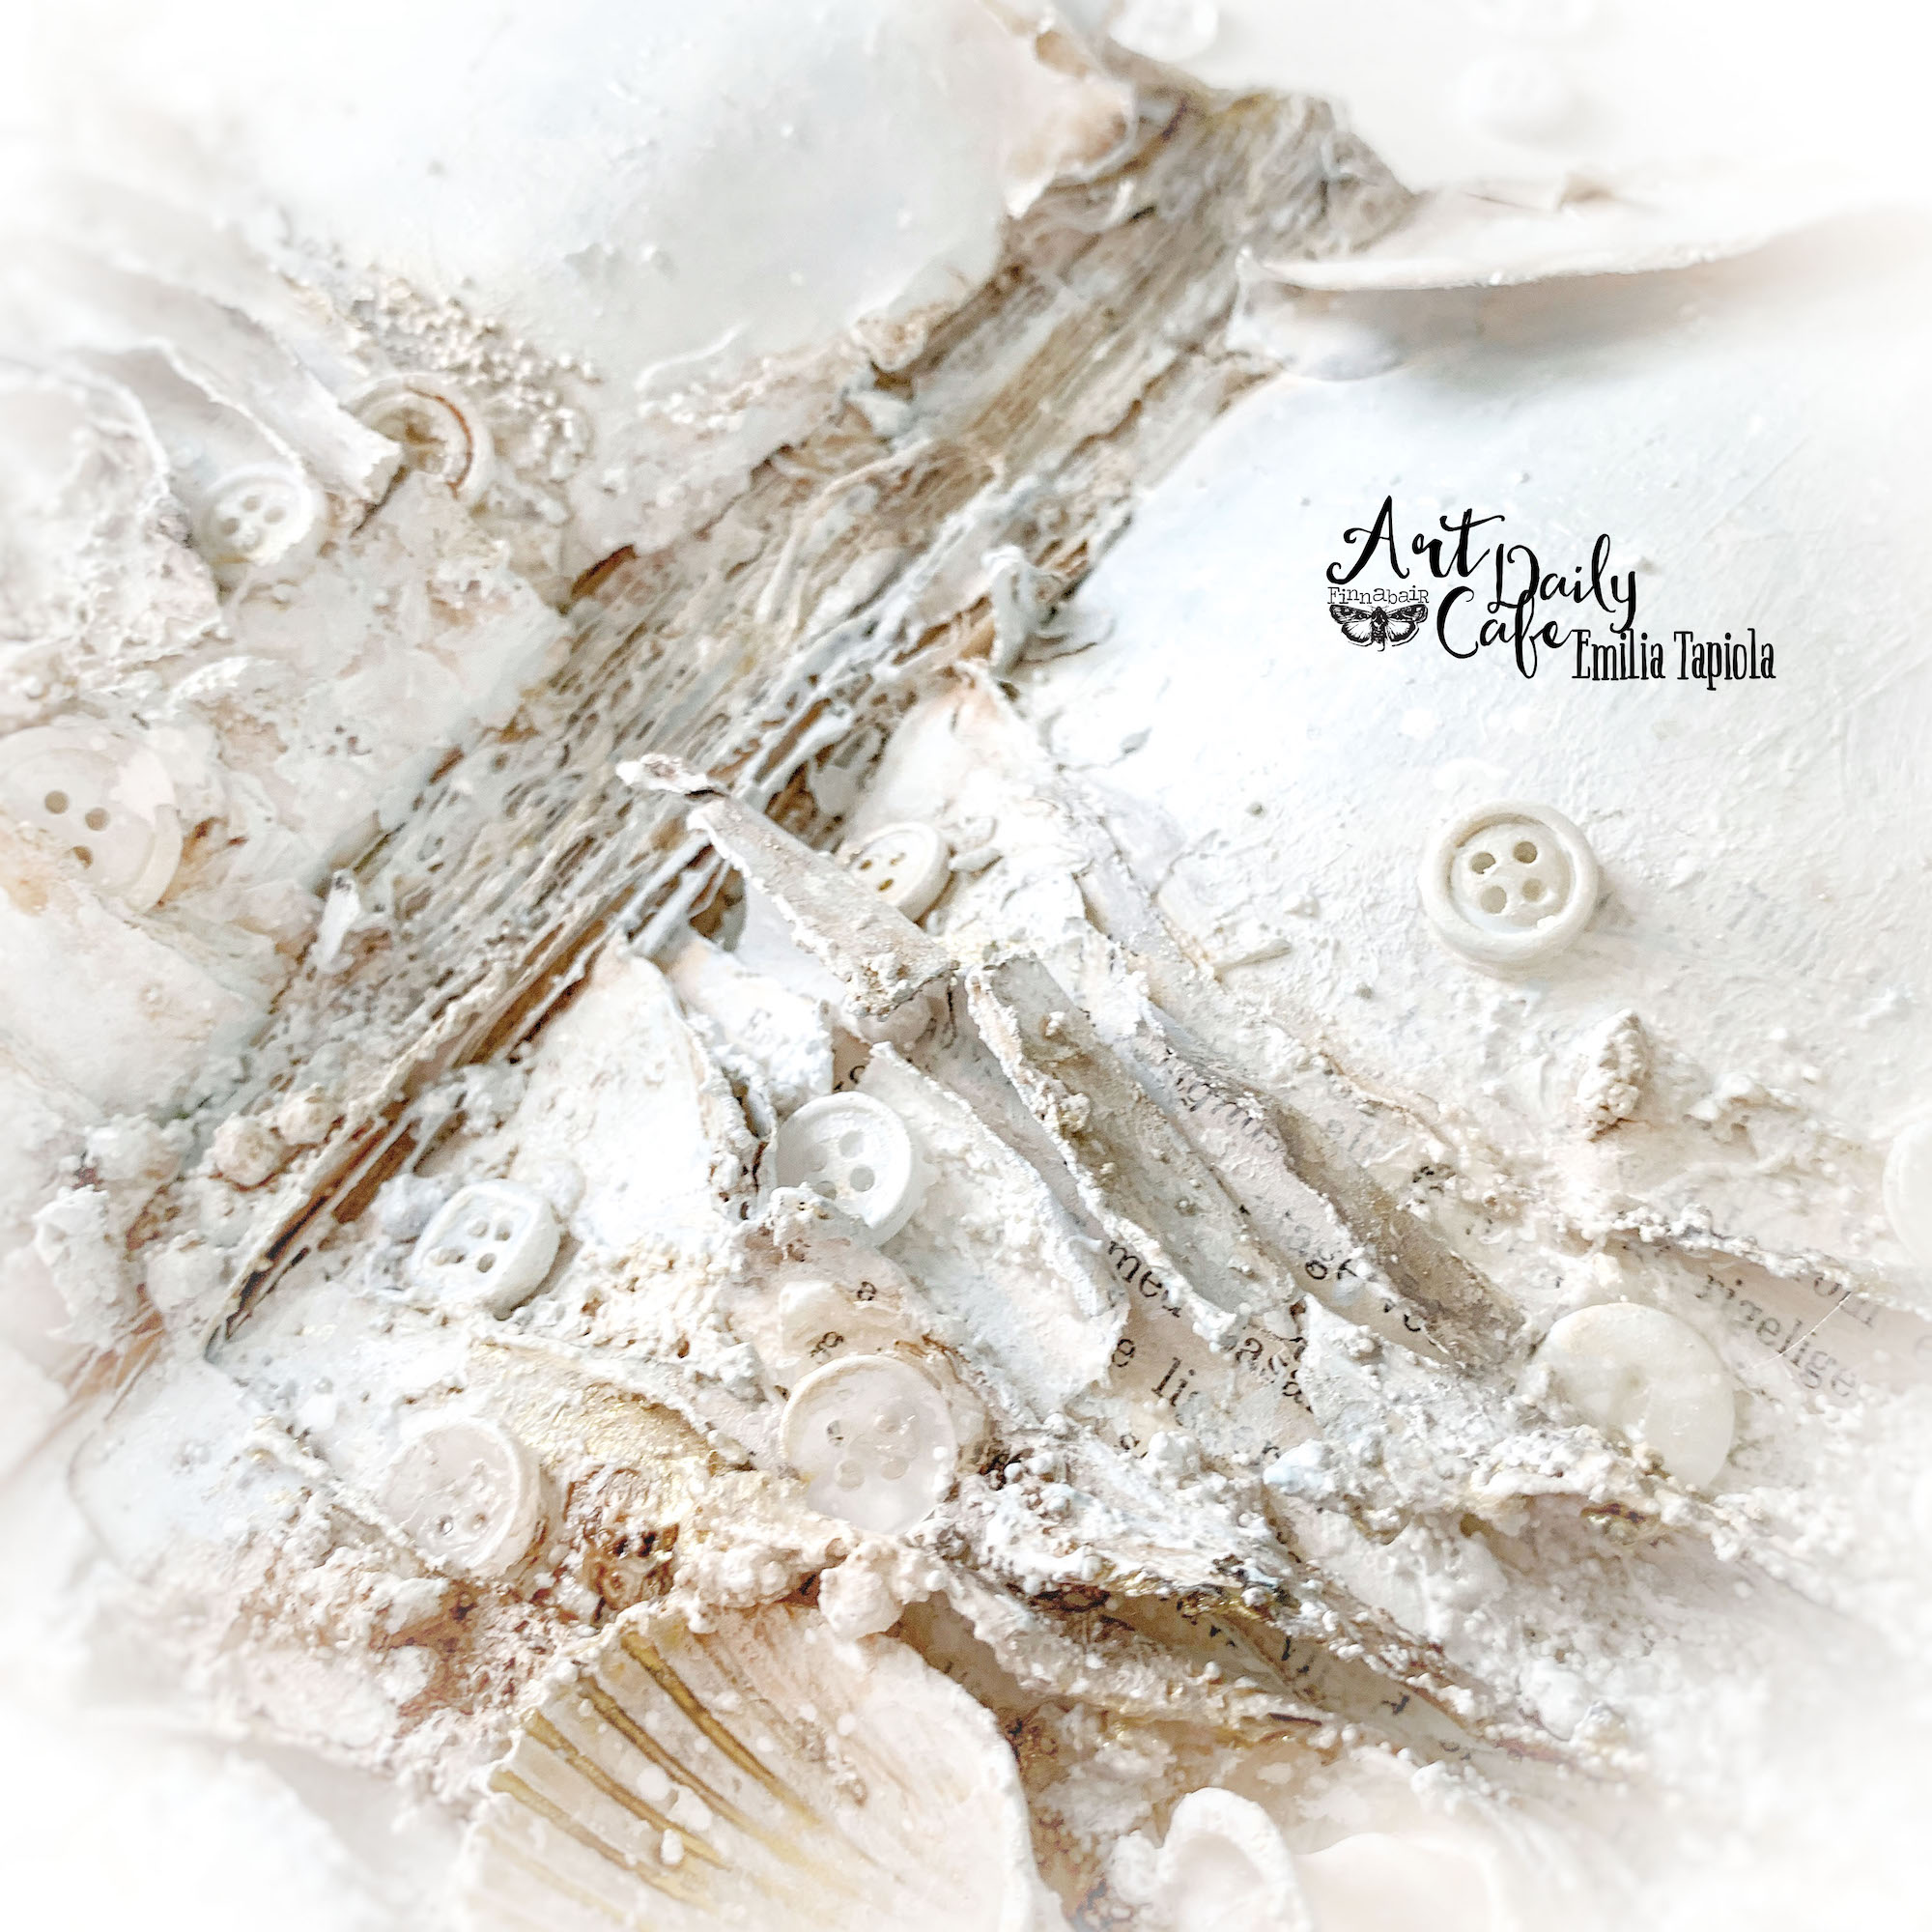
Which brings me to the photo of my art journal page. During these weeks I also listened to music all the time, especially this all time favourite song of mine, Even If, by MercyMe.


"...But God, when You choose

To leave mountains unmovable

Oh give me the strength to be able to sing

It is well with my soul

I know You're able and I know You can

Save through the fire with Your mighty hand

But even if You don't

My hope is You alone

I know the sorrow, and I know the hurt

Would all go away if You'd just say the word

But even if You don't

My hope is You alone"

 
Even if.

Thursday 30 June 2022

Altered Playing Cards for Finnabair


Hello friends,


When you don’t have enough time or energy for a large-scale crafting project, but still Want to Create Something, a quick, light, and easy is the way to go. Here is one idea that is easily altered for your own purposes: altered playing cards. You can make tags, tiny greeting cards, or, like I did, a mini art journal that can be used as a herbarium, a journal, a memory keeper, a swatch booklet... All you need is some playing cards, leftover papers that might or might not be already on your desk, a cup of coffee and fifteen minutes precious me-time.


Here's the how.


Take a few playing cards, some vintage papers, or other papers you want to cover your playing cards with, some prints or stickers or whatever you want to decorate your altered cards with, and maybe, if you are a lace hoarder like I am, some bits and bobs of those, too. You’ll also need white Heavy Gesso and Soft Matte Gel, and if you like vintage style, Impasto paints Pitch Black, and Dark Chocolate. Clear Gesso and Snow White Impasto paint are optional.


First, choose the paper you are going to cover the playing cards with. Add a layer of Soft Matte Gel onto your playing card, press the paper on top, cut the edges, and add another layer of Soft Matte Gel to seal the surface. Let dry. Repeat from both sides, as long as you have playing cards to do so. 


If you like to create a mini background collage, use scraps of papers, and attach them with Soft Matte Gel, and let dry. Make a hole onto the corner (a mini flip journal), on top (a tag), or two on the edge (a proper mini art journal), and add a hole strengthener, if you want and have the tool for it.


Whitewash the surface with white Heavy Gesso and let dry. If you want vintage look, mix some black and brown Impasto paint, and paint the edges with very watery brush, and let dry.


Now you have background for decorating the altered playing cards the way you like.


I did some different kind of examples for you. 


Using pressed flowers: Add one layer of ordinary tissue paper on top of the background collage with Soft Matte Gel, let dry, and paint over with white gesso. Add Soft Matte Gel, press your flower on top, add Soft Matte Gel gently over the pressed flower, and press tissue paper on top. Let dry. Use either Soft Matte Gel or Clear Gesso to seal the surface and add just a hint of black-brown paint mix onto the card.


Using prints: Glue your print and seal with either Soft Matte Gel or Clear Gesso. Let dry. Highlight the edges with black-brown paint mix, add some splashes of white paint.


Using fabrics: onto your background collage, glue or staple layers of fabric and lace. I started with attaching botanically dyed cheese cloth with Soft Matte Gel, and glued fabric and lace on top, and as a finishing touch, added a vintage button with silk ribbon sewn through it.


 Attach the cards with either silk ribbon or a metal ring, and it’s done.


Link to the video of the process here: https://youtu.be/3KNNaEsS2Hs


Wishing you all things gentle and beautiful,

Emilia


MATERIALS USED:

https://mixedmediaplace.com/prima-art-basics-heavy-gesso-white

https://mixedmediaplace.com/prima-art-basics-heavy-gesso-clear

https://mixedmediaplace.com/prima-art-basics-soft-matte-gel

https://mixedmediaplace.com/prima-art-alchemy-impasto-paint-snow-white

https://mixedmediaplace.com/prima-art-alchemy-impasto-paint-pitch-black

https://mixedmediaplace.com/prima-art-alchemy-impasto-paint-dark-chocolate


Art Daily Cafe June 2022


Hello friends,


For a person loving books and creating journals, this month’s theme was absolute treat. Only, it was nearly impossible to choose one among millions of ideas! In the end, I decided to go with a sea themed project. This way I could combine treasures from our summer travels and an over hundred years old book about sea creatures from Helsinki University that I had started to work with for another project but found out the pages were too fragile.


I had already taken out most of the pages from the book, and there were only maybe 1/3 left, so this was a quick project to create. (If you want to do a similar project, take most of the pages out, and leave only signature pages. This way your book should not fall apart.) Next step was to rip the pages horizontally. I opened the book from the middle and starting from the lower part of the pages I ripped the pages, layer by larger, making sure each layer was slightly wider than the previous one. Then I crumbled and ripped and twisted the layers to look a bit like very vintage paper waves and added some heavy Body Gel here and there among the page layers. It didn’t need much, as the crumbled layers held themselves quite easily, especially after I primed them with white Heavy Gesso.


Making sure each page and corner, everything exposed to later paint layers, were primed with white or clear gesso, I added Heavy Body Gel in places the pages were still loose, and let everything dry.


Next step was to add seashells and driftwood onto the paper nooks with Heavy Body Gel, and mixture of Mini Art Stones and Mega Art Stones (and attached with Heavy Body Gel) between them and the paper layers, to create sand and sea foam effect. I also added some buttons to give a nice round effect to contrast all the horizontal and vertical lines of the book. After letting everything dry, I added a layer of Soft Matte Gel on top of the art stones to make sure they will stay where they should, when I add paint.


I did not use much paint, as the vintage book itself had such a lovely beige colour, so I only mixed some Dark Chocolate and Pitch Black Impasto and added some watery shadowing into the paper edges, and after it was completely dry, added another layer with Manor Blue and Snow White Impastos on top, and to give a bit lighter tone of brown, a drop of Liquid Acrylic Burnt Sienna here and there. It needed some highlighting, so I run a very thin lines of Sparks Ancient Coin paint along the page edges.


The next day, when I was certain everything was completely dry, I added some waxes as a finishing touch. I am yet to discover a project Vintage Silk wax does not rise to a next level. I love how it turns any project into a gentler version of itself. And it did the trick this time, too, a light shimmer, a whisper of sunlight, a thread of hope. I also added some White Pearl to imitate glistening sea, and matte wax Old White as contrast.


I thought about adding some text (or some drawn seagulls) on the upper part of the book but decided against it. Sometimes it is fun to leave the imagination fly free and space for your own thoughts to emerge.  


This project was almost quicker to create than to write this, so don’t be intimidated by the length of my writing; it’s easy, it’s fun, and you cannot go wrong with an old book and some summer treasures!


Wishing, as always, all things gentle and beautiful,

Emilia


MATERIALS USED:

https://mixedmediaplace.com/prima-art-basics-heavy-gesso-white

https://mixedmediaplace.com/prima-art-basics-heavy-gesso-clear

https://mixedmediaplace.com/prima-art-basics-soft-matte-gel

https://mixedmediaplace.com/prima-art-basics-heavy-body-gel

https://mixedmediaplace.com/prima-art-ingredients-art-stones-mini

https://mixedmediaplace.com/prima-art-ingredients-mega-art-stones

https://mixedmediaplace.com/prima-art-alchemy-impasto-paint-pitch-black

https://mixedmediaplace.com/prima-art-alchemy-impasto-paint-dark-chocolate

https://mixedmediaplace.com/prima-art-alchemy-impasto-paint-snow-white

https://mixedmediaplace.com/prima-art-alchemy-impasto-paint-manor-blue

https://mixedmediaplace.com/prima-art-alchemy-liquid-acrylic-burnt-sienna

https://mixedmediaplace.com/prima-art-alchemy-metallique-ancient-coin

https://mixedmediaplace.com/prima-art-alchemy-metallique-wax-white-pearl

https://mixedmediaplace.com/prima-art-alchemy-opal-magic-wax-vintage-silk

https://mixedmediaplace.com/prima-art-alchemy-matte-wax-old-white


Monday 20 June 2022

Altered Playing Cards for Finnabair


Hello friends,


When you don’t have enough time or energy for a large-scale crafting project, but still Want to Create Something, a quick, light, and easy is the way to go. Here is one idea that is easily altered for your own purposes: altered playing cards. You can make tags, tiny greeting cards, or, like I did, a mini art journal that can be used as a herbarium, a journal, a memory keeper, a swatch booklet... All you need is some playing cards, leftover papers that might or might not be already on your desk, a cup of coffee and fifteen minutes precious me-time.


Here's the how.


Take a few playing cards, some vintage papers, or other papers you want to cover your playing cards with, some prints or stickers or whatever you want to decorate your altered cards with, and maybe, if you are a lace hoarder like I am, some bits and bobs of those, too. You’ll also need white Heavy Gesso and Soft Matte Gel, and if you like vintage style, Impasto paints Pitch Black, and Dark Chocolate. Clear Gesso and Snow White Impasto paint are optional.


First, choose the paper you are going to cover the playing cards with. Add a layer of Soft Matte Gel onto your playing card, press the paper on top, cut the edges, and add another layer of Soft Matte Gel to seal the surface. Let dry. Repeat from both sides, as long as you have playing cards to do so.


If you like to create a mini background collage, use scraps of papers, and attach them with Soft Matte Gel, and let dry. Make a hole onto the corner (a mini flip journal), on top (a tag), or two on the edge (a proper mini art journal), and add a hole strengthener, if you want and have the tool for it.


Whitewash the surface with white Heavy Gesso and let dry. If you want vintage look, mix some black and brown Impasto paint, and paint the edges with very watery brush, and let dry.


Now you have background for decorating the altered playing cards the way you like.


I did some different kind of examples for you.


Using pressed flowers: Add one layer of ordinary tissue paper on top of the background collage with Soft Matte Gel, let dry, and paint over with white gesso. Add Soft Matte Gel, press your flower on top, add Soft Matte Gel gently over the pressed flower, and press tissue paper on top. Let dry. Use either Soft Matte Gel or Clear Gesso to seal the surface and add just a hint of black-brown paint mix onto the card.


Using prints: Glue your print and seal with either Soft Matte Gel or Clear Gesso. Let dry. Highlight the edges with black-brown paint mix, add some splashes of white paint.


Using fabrics: onto your background collage, glue or staple layers of fabric and lace. I started with attaching botanically dyed cheese cloth with Soft Matte Gel, and glued fabric and lace on top, and as a finishing touch, added a vintage button with silk ribbon sewn through it.


 Attach the cards with either silk ribbon or a metal ring, and it’s done.


Link to the video of the process here:  https://youtu.be/3KNNaEsS2Hs


Wishing you all things gentle and beautiful,

Emilia


MATERIALS USED:

https://mixedmediaplace.com/prima-art-basics-heavy-gesso-white

https://mixedmediaplace.com/prima-art-basics-heavy-gesso-clear

https://mixedmediaplace.com/prima-art-basics-soft-matte-gel

https://mixedmediaplace.com/prima-art-alchemy-impasto-paint-snow-white

https://mixedmediaplace.com/prima-art-alchemy-impasto-paint-pitch-black

https://mixedmediaplace.com/prima-art-alchemy-impasto-paint-dark-chocolate


Monday 30 May 2022

Art Daily Cafe May 2022


Hello friends,


Little Thoughts may be little in size, but sometimes they can still speak in volumes. Here is an example. A tiny page with a single print, a single sentence, and two colours (ok, and lace, silk ribbon, and vintage silk yarn) may be small in size, but it has a heart of a giant. The lovely theme of the month underlined the beautiful, uplifting message.


I created the journal spread my tiny Little Thoughts art journal, the cover size approx. 7 cm x 10 cm. Here’s how I did it.


First, I glued a tiny vintage receipt the size of the whole journal spread on top of the coffee dyed paper, and primed the pages with Clear Gesso, crinkling and folding the receipt edges on the go. Then I added white Heavy Gesso here and there, and that was all I did with the actual pages.


Next, I dyed some silk ribbon, cheese cloth, and lace with green and pink Mica Powders from Vintage Roses and Golden Hour sets (a tutorial video of the process here: https://youtu.be/CCPbR9oRpGo ), and layered them onto the ages, together with a spring green vintage silk yarn, and glued the print and a stamped quote on top.


Then I glued some lace onto the edges of the pages and stitched mica dyed silk ribbon on top and used the leftover silk ribbon bits to get more dimension around the print and quote. The print looked a bit dull, but I did not change it, as was the idea of the month; don’t hide your mistakes but uplift them. So, with a white pen, I doodled some marks on top, and it did uplift and lighten the print!


Wishing, as always, all things gentle and beautiful,

Emilia


MATERIALS USED:

https://mixedmediaplace.com/prima-art-basics-heavy-gesso-white

https://mixedmediaplace.com/prima-art-basics-heavy-gesso-clear

https://mixedmediaplace.com/prima-art-ingredients-mica-powder-set-vintage-roses

https://mixedmediaplace.com/prima-art-ingredients-mica-powder-set-golden-hour


Wednesday 18 May 2022

Sweet Vintage Art Journal Cover for Finnabair


Hello friends,


Creating journals feels like creating new worlds. And what comes to the cover… It’s the precious, whispering invitation to step into those worlds. I created an invitation to a sweet, gentle, world, filled with soft wisdom, whispering of broken beauty and hidden strength.


Here’s what I did…


The cover, a plain thick cardboard piece, was approx. 11 cm., and I chose a pile of inspiring material for it: vintage papers and vintage jewellery pieces, 7 Dot Studio paper, lace, and fabric.


First, I covered the cardboard with Moda Tissue paper, using Soft Matte Gel, and primed it twice with white Heavy Gesso. Then, I painted it with acrylic Impasto Snow White paint, and after drying, mixed Impastos Pitch Black and Chocolate Brown for vintage look and painted the edges.


Next step was to layer vintage papers, scrapbook paper, and lace onto the cover. I primed the pieces I chose, with Clear Gesso and then added the brown and black acrylic paint mix onto the edges, to give them more worn-out look. Then I glued everything in place. The heavier pieces like a cardboard frame, I secured in place with Heavy Body Gel.


The final touch was to add the actual, tiny little composition of a swan feather, a silk flower, and a vintage earring, which I glued with Heavy Body Gel. The cover needed something darker for contrast, so I added a (half of a) Rusty Paper Clip.


Link to the video of the process here: https://youtu.be/JSR97_BGcfw


Wishing you all things gentle and beautiful,

Emilia


MATERIALS USED:

https://mixedmediaplace.com/prima-art-basics-heavy-gesso-white

https://mixedmediaplace.com/prima-art-basics-heavy-gesso-clear

https://mixedmediaplace.com/prima-finnabair-tissue-paper-moda

https://mixedmediaplace.com/prima-art-basics-soft-matte-gel

https://mixedmediaplace.com/prima-art-basics-heavy-body-gel

https://mixedmediaplace.com/prima-art-alchemy-impasto-paint-snow-white

https://mixedmediaplace.com/prima-art-alchemy-impasto-paint-pitch-black

https://mixedmediaplace.com/prima-art-alchemy-impasto-paint-dark-chocolate

https://mixedmediaplace.com/prima-art-daily-rusty-paper-clips